
Create SmartArt Illustrations in 5 Easy Steps
Easily create your own graphics to illustrate information!
Create SmartArt Illustrations in 5 Easy Steps
Create SmartArt Illustrations in 5 Easy Steps
A picture is worth a thousand words. Microsoft probably thought the same and created a way for you to easily make your own graphics. These graphics can illustrate lists, processes, hierarchies, and more, bundling information into a single image.
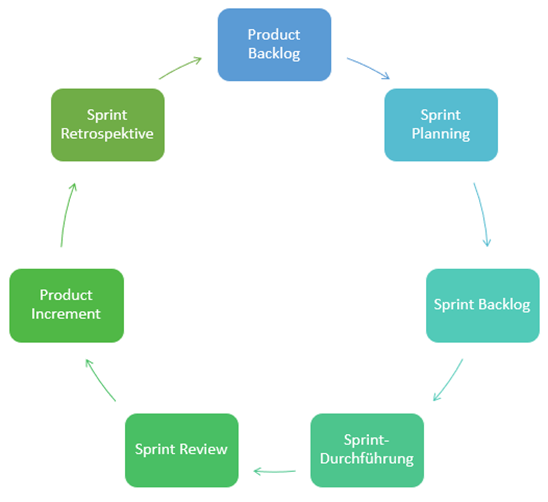
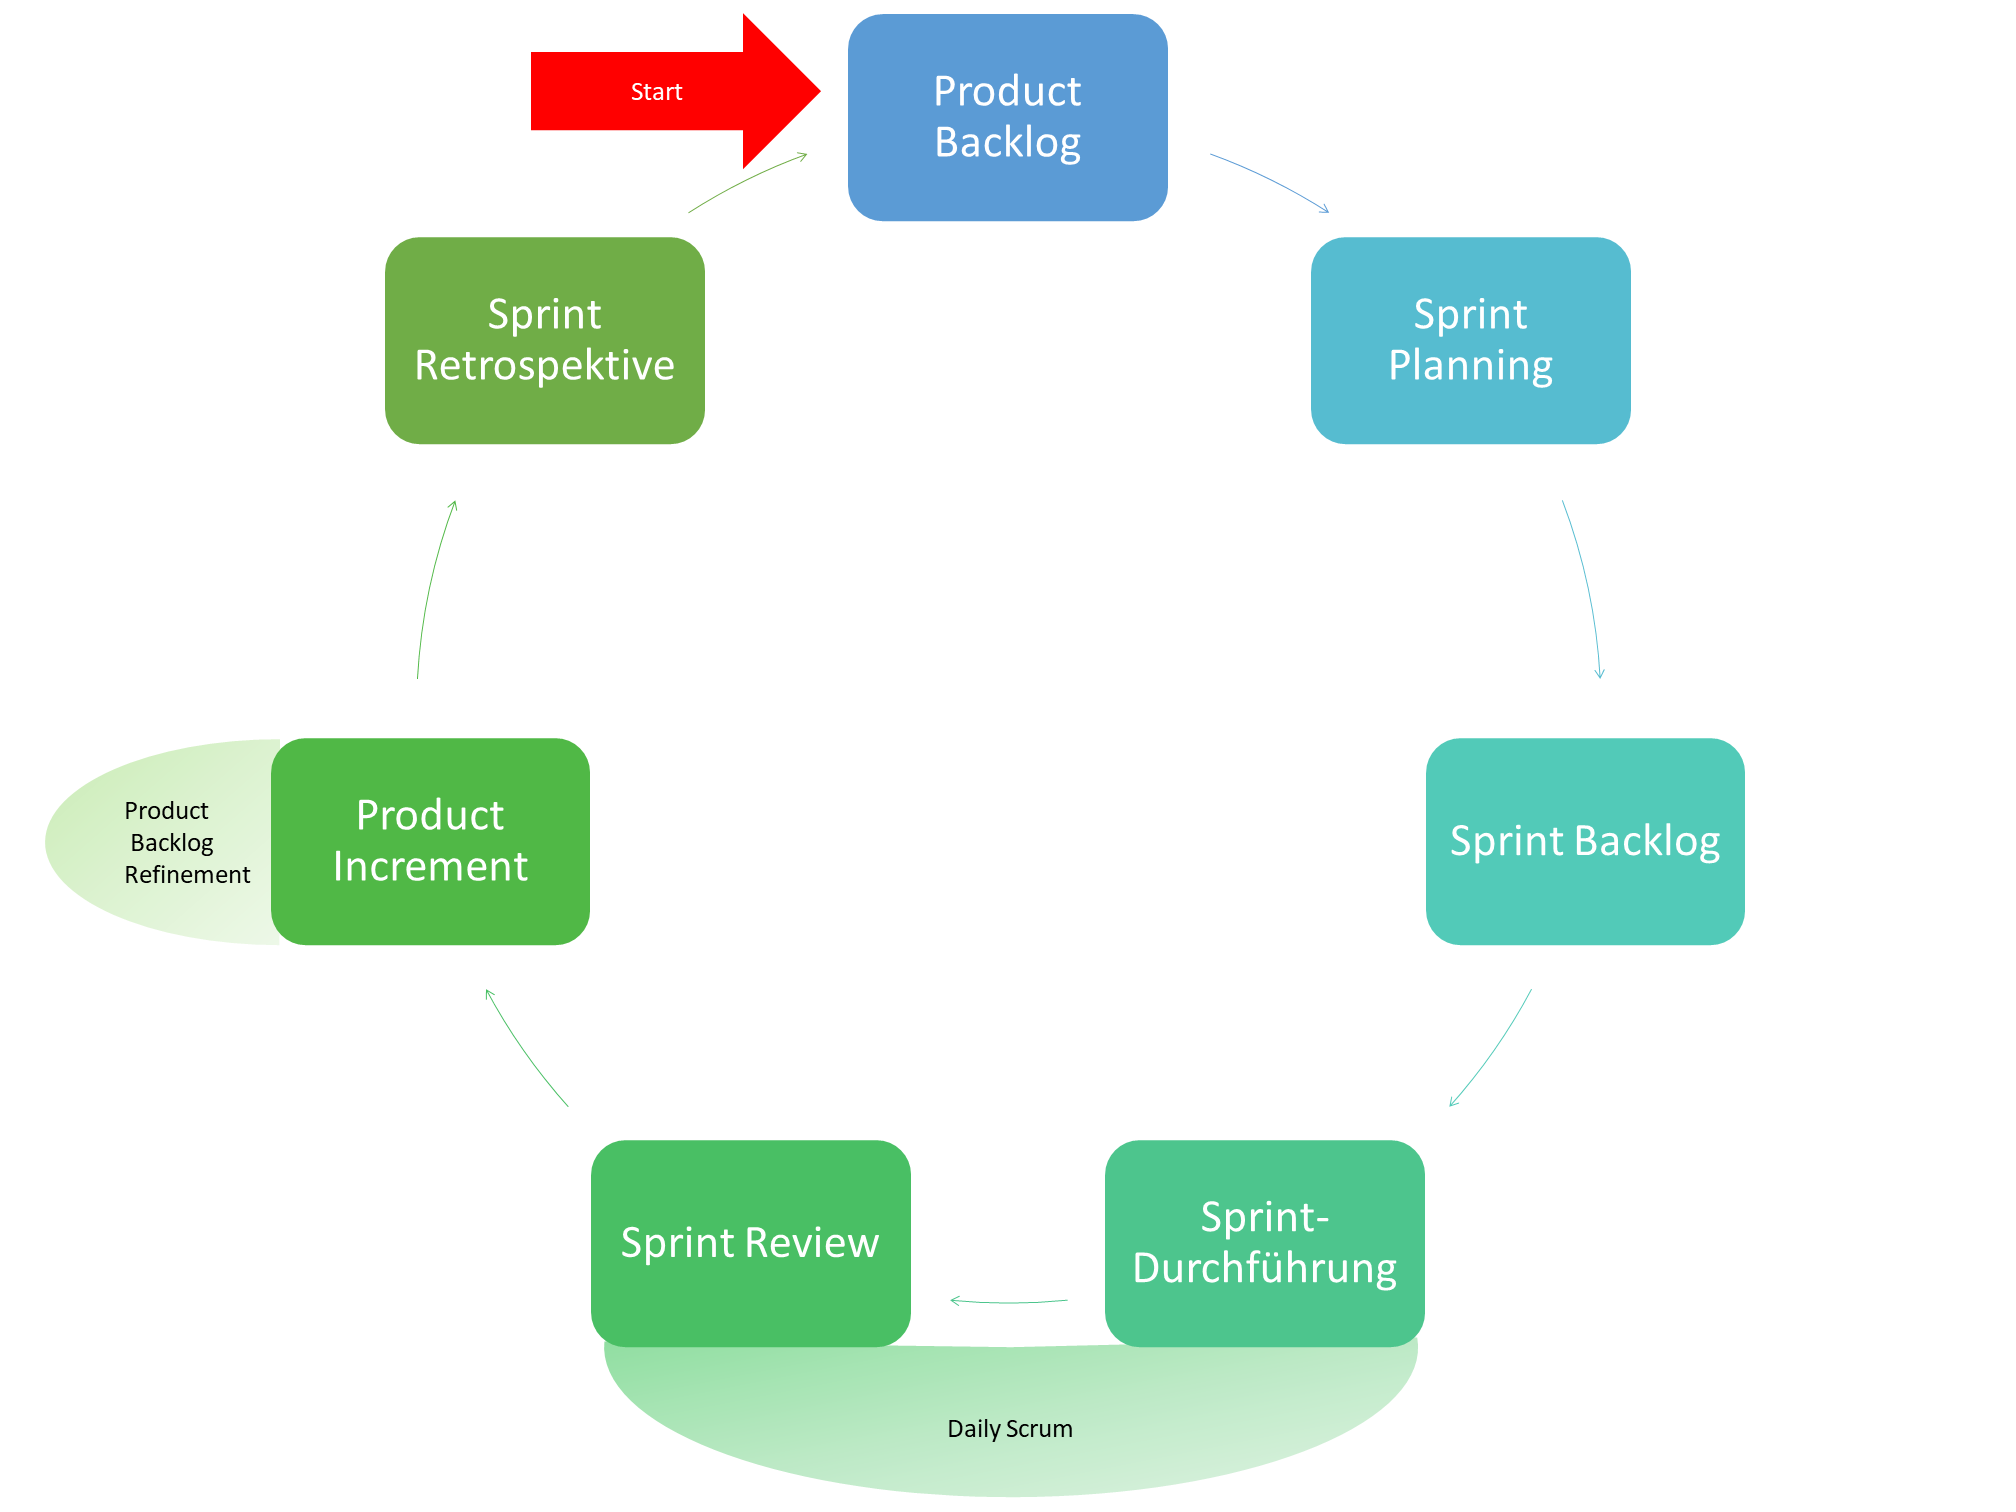
Let's explore the SmartArt feature using the Scrum process as an example.
Step 1: Insert a SmartArt Graphic
You can find the "SmartArt" option in PowerPoint, Word, and Outlook under Insert → SmartArt.

In Excel, access it via Insert → Illustrations → SmartArt.

Here, you'll see a selection of predefined illustration types (layouts).
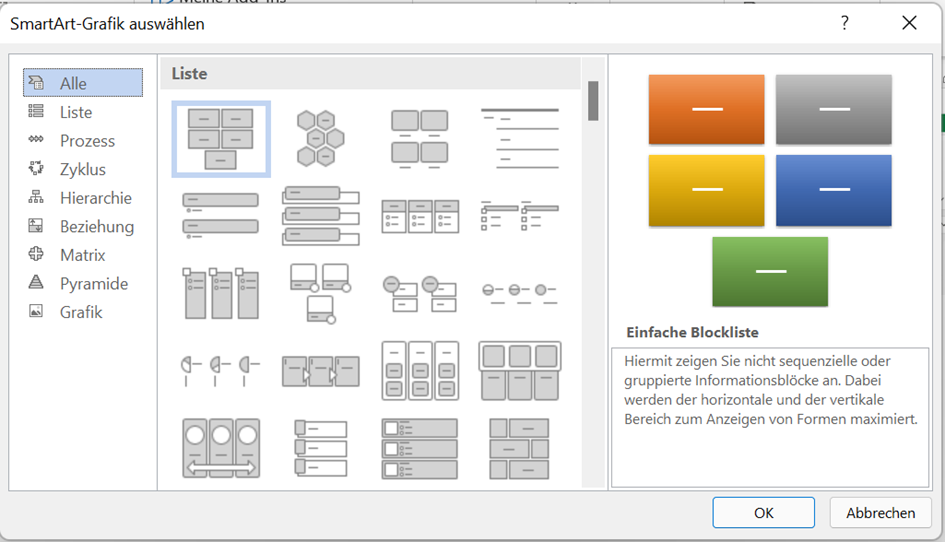
For our Scrum process, we choose a cycle, select it, and click OK.
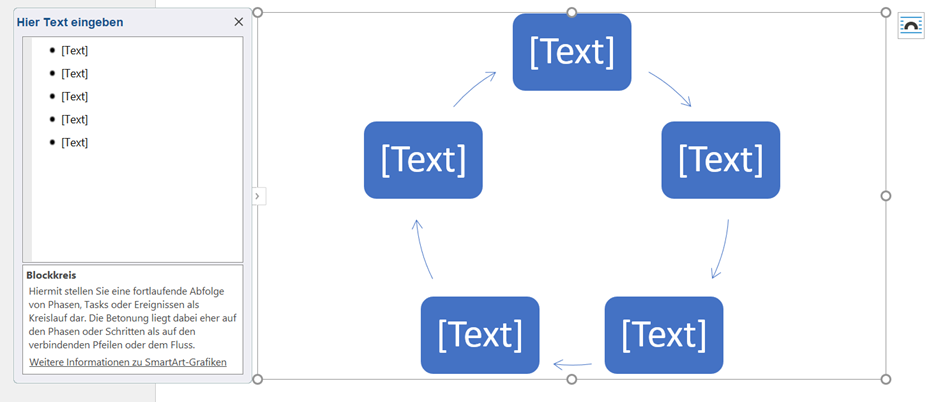
Step 2: Add Text
If the text input window ("Enter text here") isn't visible, you have two options to display it:
- Right-click on the graphic and select Show Text Pane.
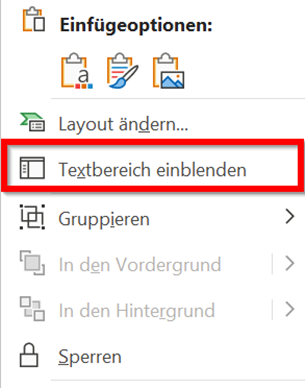
2. Use the SmartArt menu (select the graphic with the left mouse button to make the menu appear).

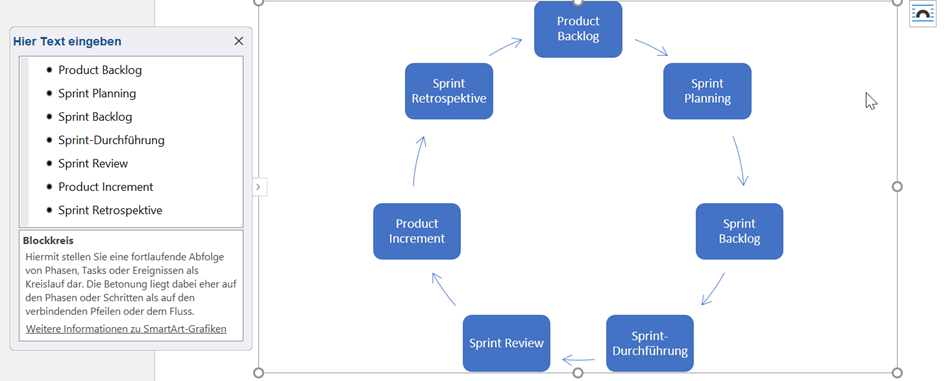
Next, define the individual process steps. In some layouts, you can create sub-points with the Tab key, which also generates another element. However, sub-points aren't needed for our (simplified) Scrum process.
The SmartArt Design Menu
Now, let's look at the SmartArt button in the menu bar. It appears when you select the SmartArt shape:

The key functions here are:
- Change the layout (alter the entire SmartArt graphic layout – e.g., from cycle to list)
- Change the design (alter colors)
- Reset the form – revert all changes to the original state
- Add more shapes or text
Step 3: Change the Color Scheme
We adjust our graphic's colors by choosing a different color scheme under Change Colors:
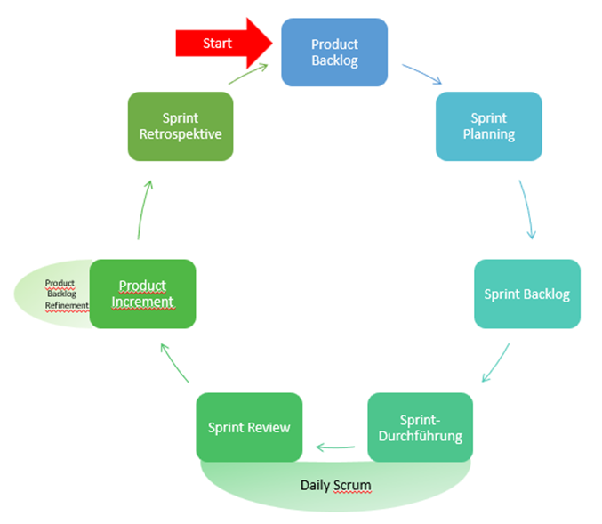
Step 4: Add More Shapes
For our Scrum process, we need a few more shapes. We add these as usual via the Insert → Shapes menu. We also remove the border from individual elements.
Step 5: Export SmartArt Graphic as an Image File
Once the graphic is complete, we can convert it into an image file for further use. There are two ways to do this.
Via the File → Export Menu
In PowerPoint, export your image by selecting File → Export → Change File Type → PNG (Portable Network Graphics) and clicking the Save As… button.
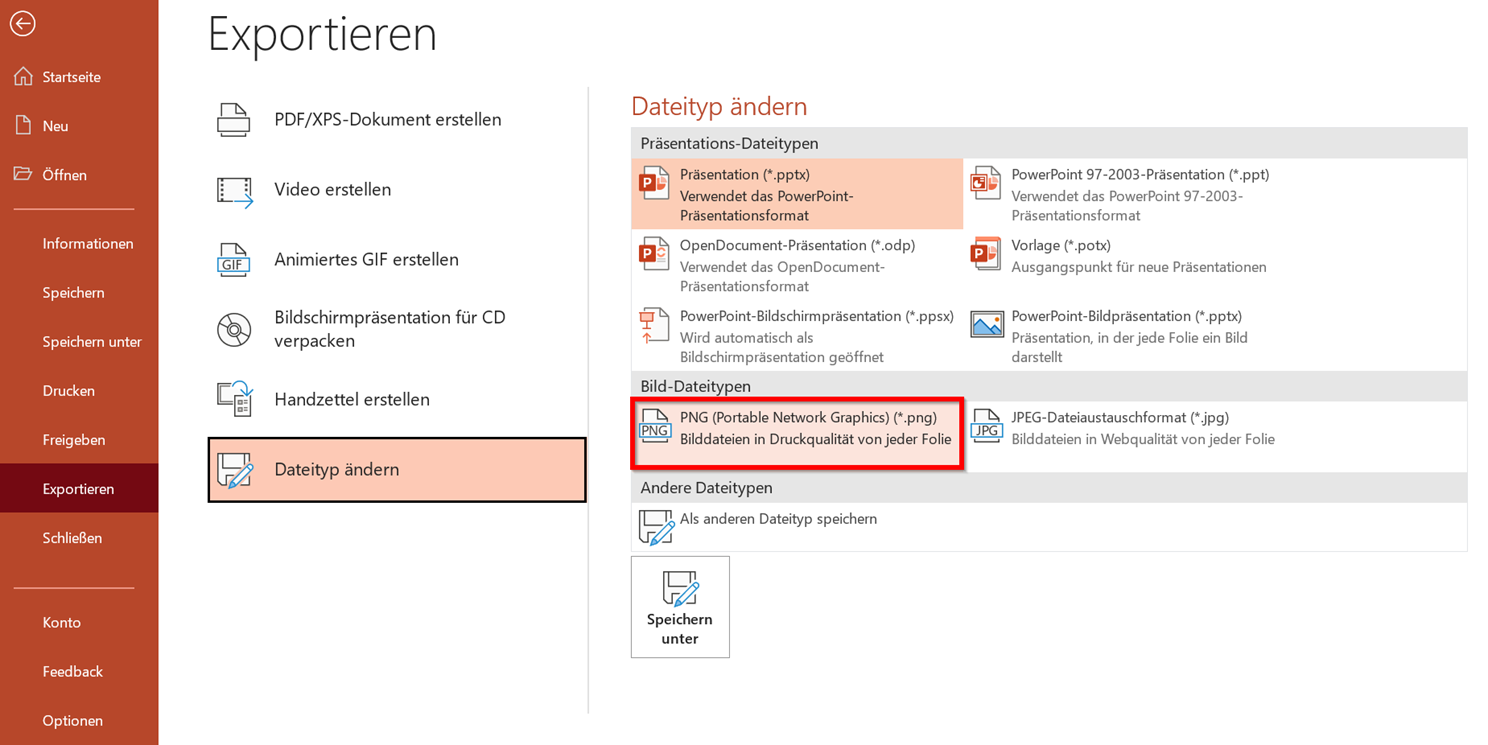
Now, choose the file location and name. PowerPoint will then ask which slides you want to export. Select Just This Slide.

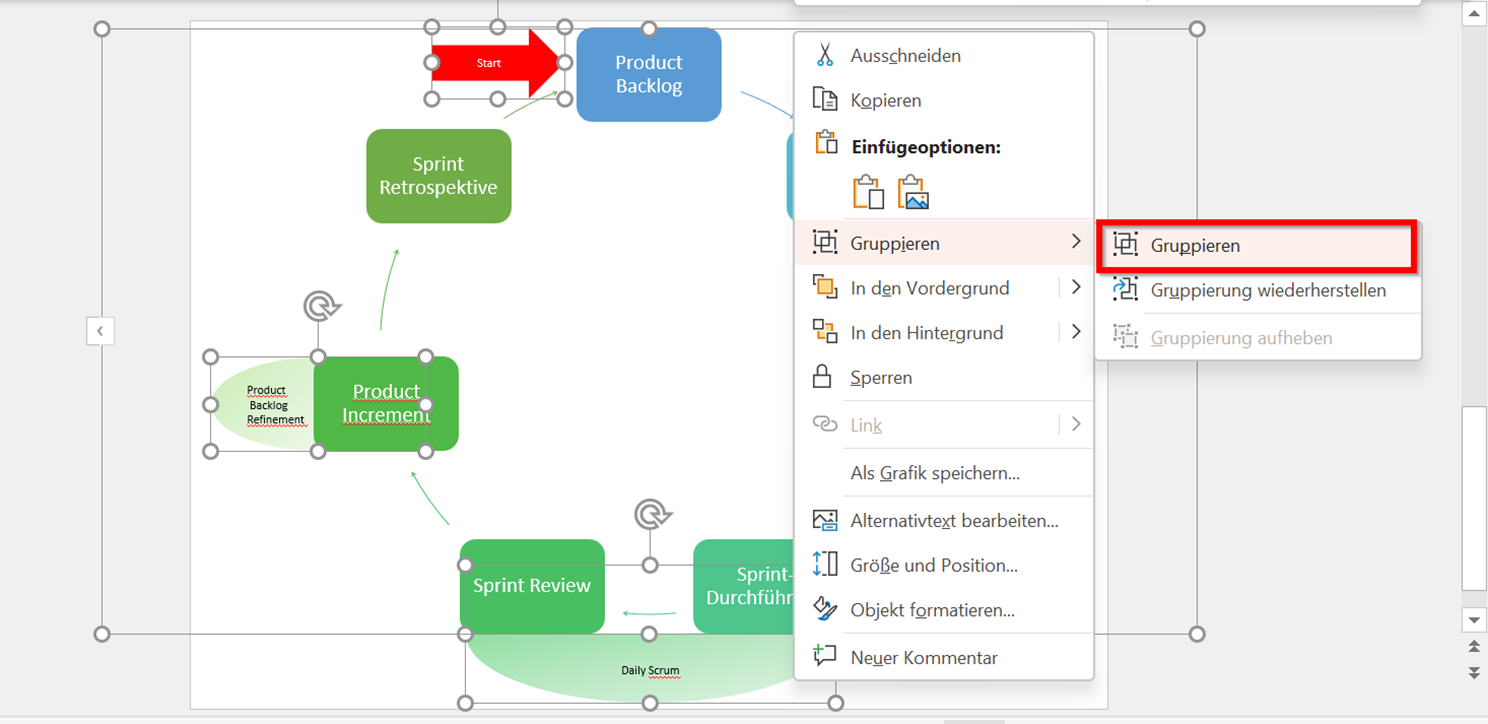
By Right-Click → Save as Picture…
You can also export the image by right-clicking on it and selecting Save as Picture….
Conclusion
With the SmartArt feature in the Office suite, you can easily create beautiful, custom illustrations. They're perfect for hierarchies, lists, bullet points, and more. Give it a try!
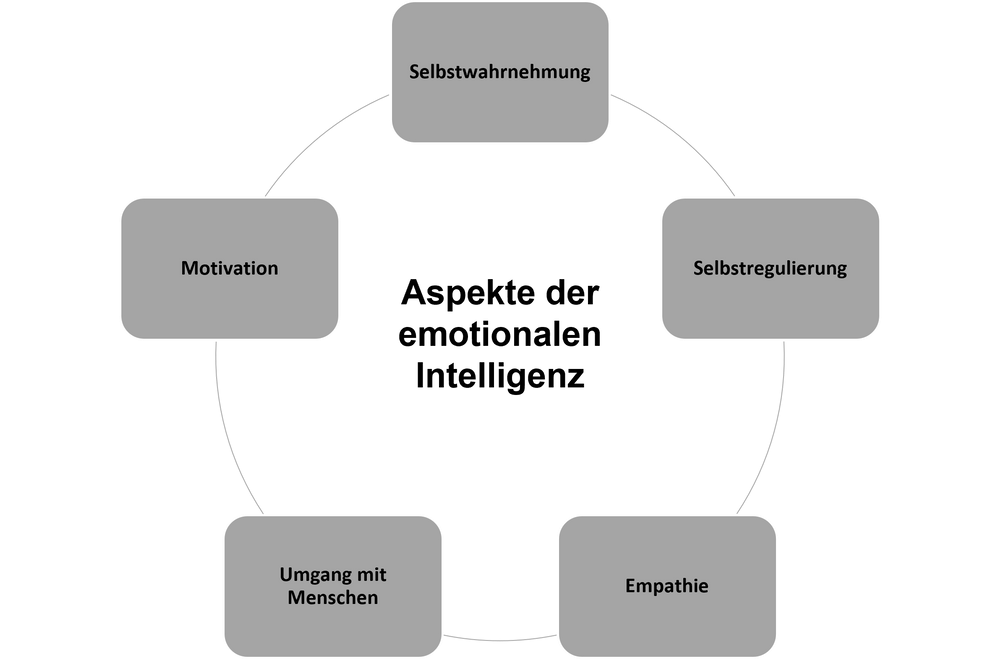
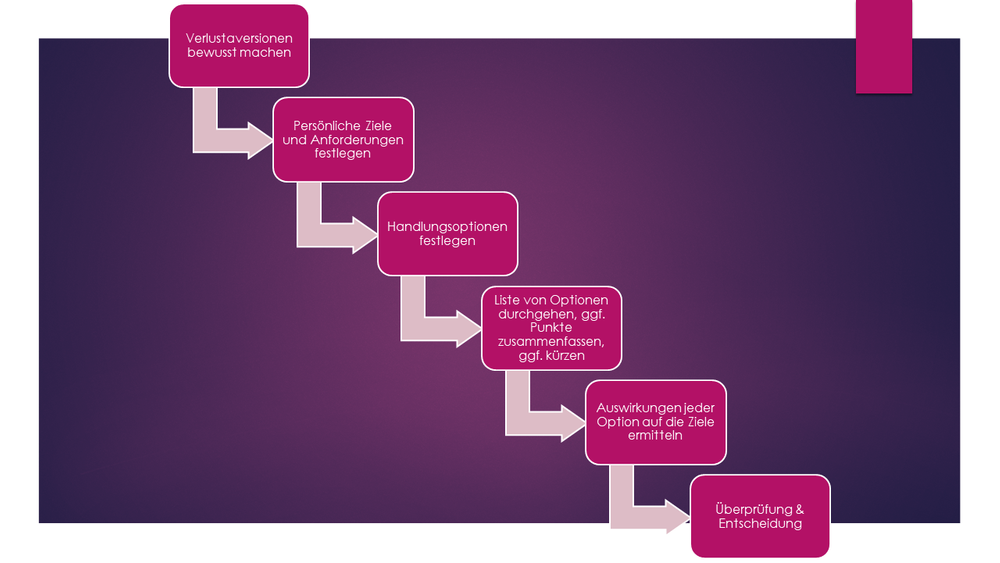
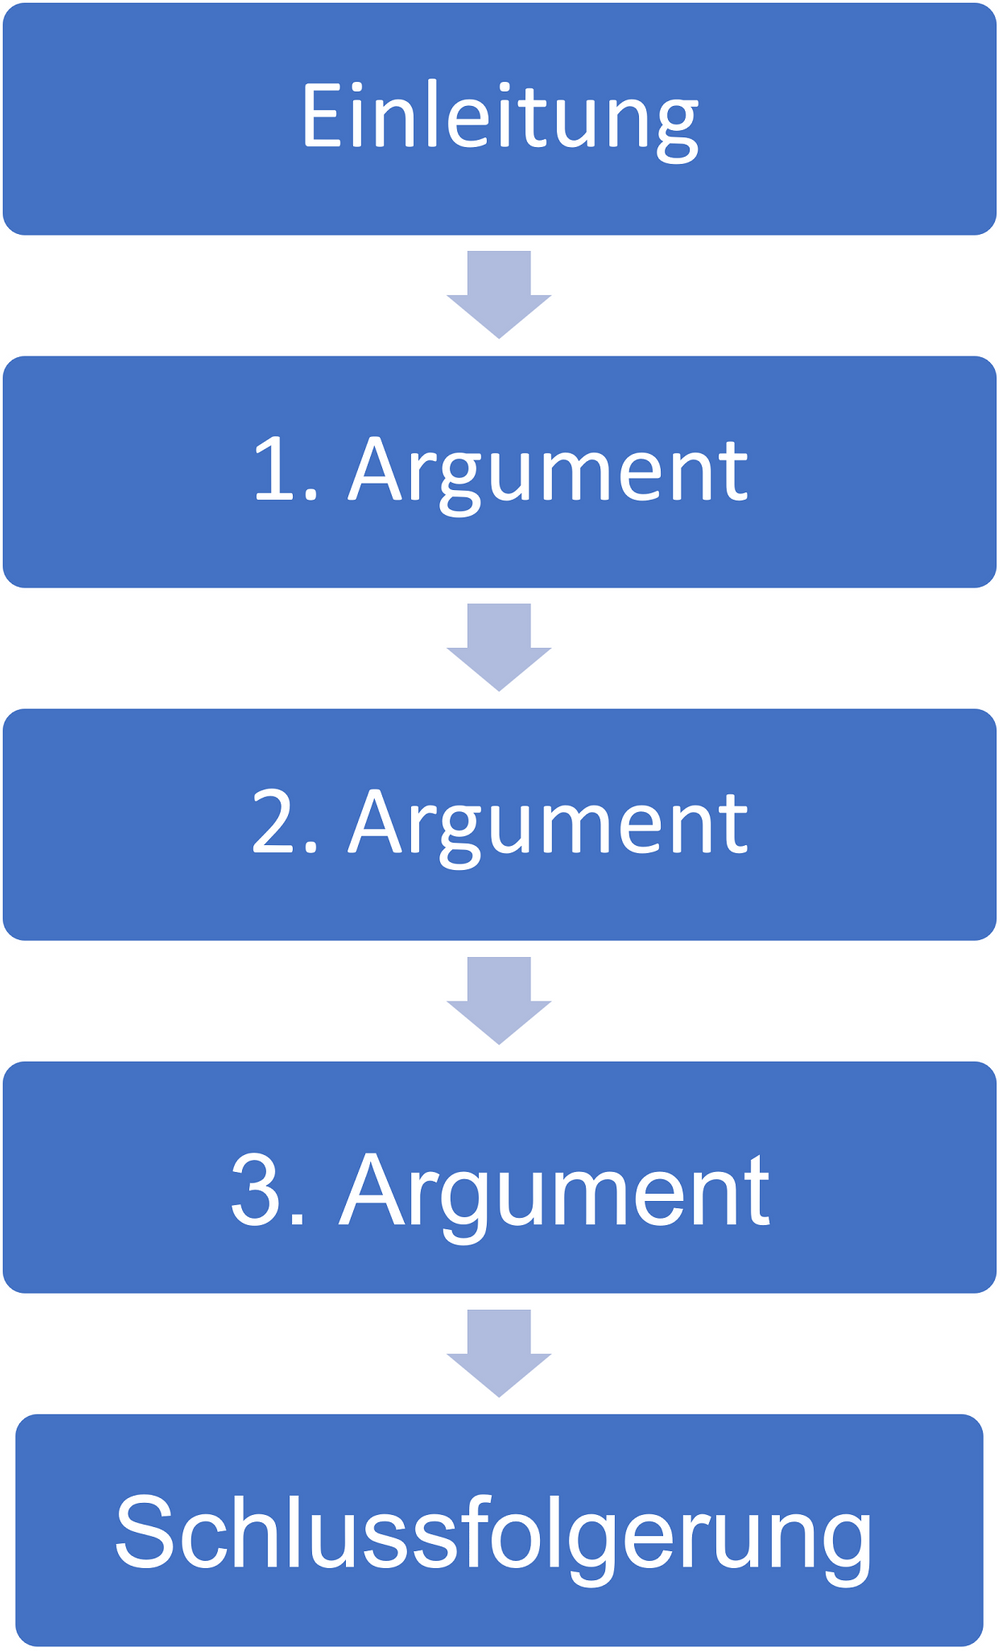
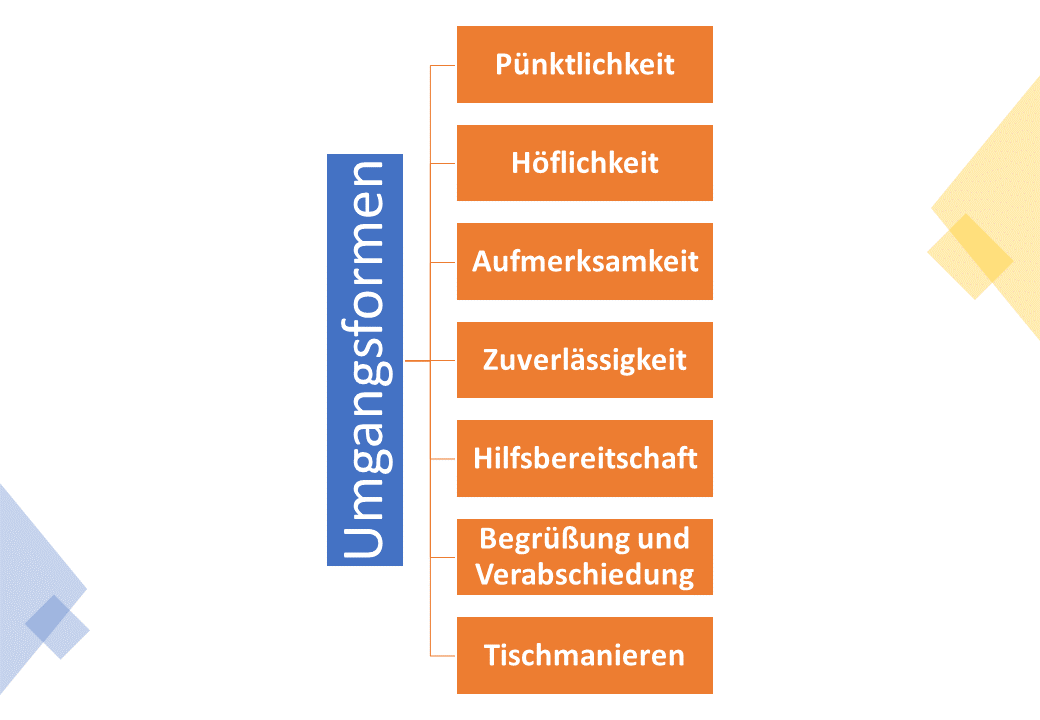
More SmartArt Examples
Step 2: Add Text
If the text input window ("Enter text here") isn't visible, you have two options to display it:
- Right-click on the graphic and select Show Text Pane.
2. Use the SmartArt menu (select the graphic with the left mouse button to make the menu appear).
Next, define the individual process steps. In some layouts, you can create sub-points with the Tab key, which also generates another element. However, sub-points aren't needed for our (simplified) Scrum process.
The SmartArt Design Menu
Now, let's look at the SmartArt button in the menu bar. It appears when you select the SmartArt shape:
The key functions here are:
- Change the layout (alter the entire SmartArt graphic layout – e.g., from cycle to list)
- Change the design (alter colors)
- Reset the form – revert all changes to the original state
- Add more shapes or text
Step 3: Change the Color Scheme
We adjust our graphic's colors by choosing a different color scheme under Change Colors:
Step 4: Add More Shapes
For our Scrum process, we need a few more shapes. We add these as usual via the Insert → Shapes menu. We also remove the border from individual elements.
Step 5: Export SmartArt Graphic as an Image File
Once the graphic is complete, we can convert it into an image file for further use. There are two ways to do this.
Via the File → Export Menu
In PowerPoint, export your image by selecting File → Export → Change File Type → PNG (Portable Network Graphics) and clicking the Save As… button.
Now, choose the file location and name. PowerPoint will then ask which slides you want to export. Select Just This Slide.
By Right-Click → Save as Picture…
You can also export the image by right-clicking on it and selecting Save as Picture….
Conclusion
With the SmartArt feature in the Office suite, you can easily create beautiful, custom illustrations. They're perfect for hierarchies, lists, bullet points, and more. Give it a try!
More SmartArt Examples
 |
 |
 |
 |
 |
 |